In Search of a Flawless Bend
There’s no such thing as a perfect press brake bend—but a skilled fabricator can get very, very close. The key is to resist the temptation to attempt shortcuts, instead of methodically moving through a sequence of steps that involve careful checking, adjusting and checking again to ensure everything is setup correctly for the most ideal bend possible.
There are three critical components to consider when trying to achieve a near-flawless bend: your press brake, its tooling and the material itself.
Your Material
The first thing to look at in a bending operation is often the very last one that many operators check, if at all: the material being bent.
Not all metal is created equal. It’s fascinating to study the astounding properties of the various metals, whether they are chemical elements, alloys or molecular compounds. It doesn’t take a degree in metallurgy, however, to learn the basic characteristics of commonly fabricated metals and understand how they are affected under pressure and other stresses.
Bending parts correctly—and consistently—means knowing various aspects of the material being used for the job, including such things as:
- Tensile Strength, which is how resistant the metal is to failure—specifically breaking—under tensile stress while being bent or stretched.
- Yield Strength, which is the most stress that a metal can take before permanently changing shape, whether during fabrication or in practical use as a component.
- Springback, which is the amount a bent piece of material returns back towards its original shape following being bent. (This is why operators will overbend an angle, knowing that the workpiece will relax back a couple of degrees when the pressure is taken off.)
- Ductility, which is the capability of the metal to be stretched without becoming weaker. It is perhaps best measured by elongation, which is the percentage the original length of the metal can be stretched until it reaches the point of failure.
- Hardness, which is how resistant the metal is to penetration, as measured by the Rockwell scale or similar test.
It is also important to understand how different thicknesses of the same material will react differently to bending pressure. Other considerations include being aware of the composition and flaws in each batch of metal and individual workpieces, such as grain direction, imperfections or impurities in the metal and whether any remnants of processing and preparing the workpiece exist, such as burrs.
Even two “identical” pieces of metal from two different mills or even two different batches may have slight variances that will affect how they react in the same bending process, so it is important to have a metal service center or supplier that can help you keep your material constant so that your finished parts stay consistent.
Your Press Brake
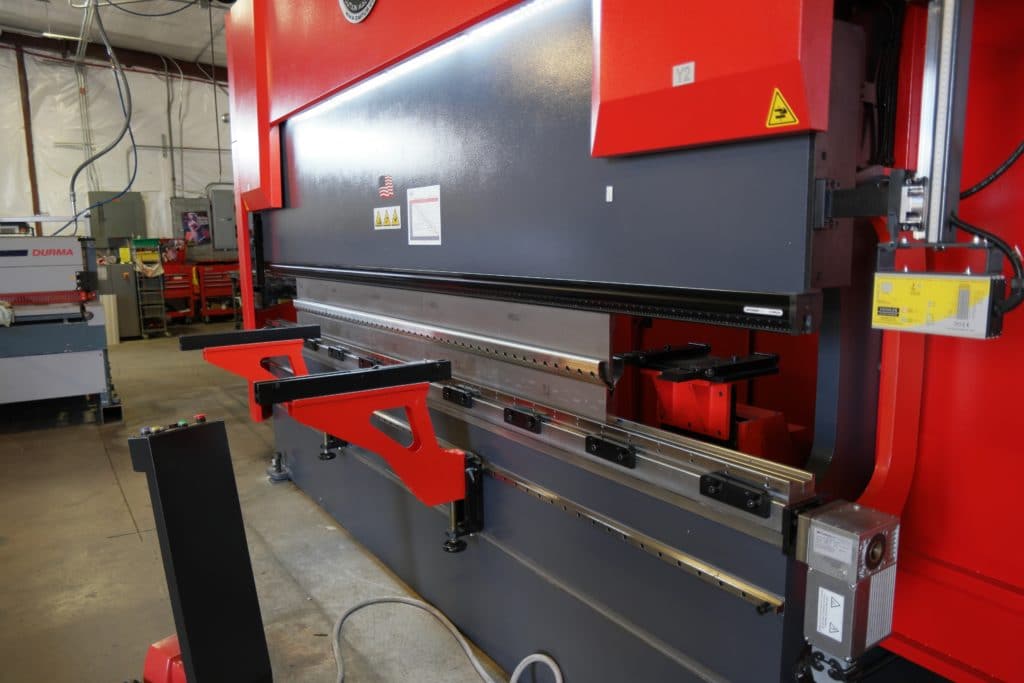
The press brake provides both the power and the precision in the metal bending process, so it’s essential that it is operating properly and will be used correctly so that your parts are accurate.
Things you need to verify before bending include:
- Calibration. On a frequent basis—and certainly before a major project—verify that your brake is calibrated properly. Check to make sure that the brake’s ram is referencing correctly in the Y-axis, always moving to the exact same spot with each cycle.
- Bend Sequence. Draw your desired bend—whether on paper or on a graphical control—and determine the ideal bend sequence.
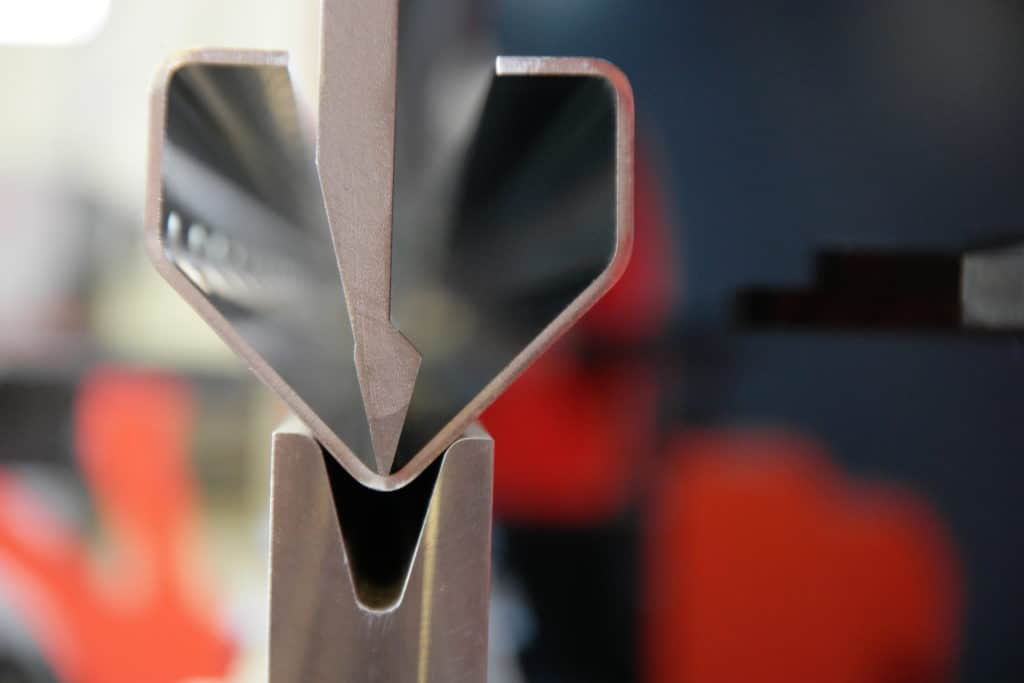
- Bending Method. Whether air bending, bottoming or coining, determine the best bending method for your particular project.
- Tonnage. Using a tonnage chart or electronic means, calculate the proper tonnage needed for your operation based on your bending method, the bend you are trying to achieve, the length and thickness of the workpiece, the inside radius of the formed part, the V-die opening, and the minimum amount of flange on the finished part.
Your Tooling
For all the power of your press brake, it is your tooling that comes into contact with the material to create your part, so it is the critical factor in performing an ideal bend. Before each operation you should assess the following:
- Tooling Position. While most bending is performed in the center of the press brake ram for optimal power and control, if your press brake allows off-center bending, then you may be able to set up several different sets of tooling at once for stage bending.
- Tooling Selection. Choose the correct tooling for the job at hand. Both your upper tooling and bottom dies needs to be able to handle the tonnage you’ve calculated for the operation. Quality precision ground and hardened tooling will hold up far better to ordinary wear and tear than the more common, less-expensive variety.
- Tooling Seating. Seat your tooling properly to ensure a correct bend. This involves applying light tonnage to loosely clamped top and bottom tools to seat them before tightening them. Hydraulic clamping is recommended to accurately and quickly seat tooling.
- Input Tooling into CNC. With a CNC press brake, entering the exact dimensions of the punch and die is necessary for the programmed operation to run as intended.
Testing Your Bend
Once your machine, tooling and material is set up correctly, perform some test runs before you go into production. If the material is bowing instead of bending straight, adjust your crowning compensation. Check each step to make sure there are no problems. Also be sure to test the finished parts throughout the run to make sure they are up to specifications.
Preparing for Next Time
A successful press brake operation should be celebrated, but it should also be documented so that it can be replicated or adapted in the future. This is especially important if you anticipate repeat business for the same part.
Noting the details of the finalized setup and operation on a formal press brake setup sheet can avoid wasted time and resources the next time a similar job comes up. Along with details about the customer, a good press brake setup sheet would include material type and thickness, the type of punch and die and the specs of their radii, the various depths of flanges and notes about handling. It should also contain notes about the programming of your control, including the program number, if the operation was saved.
The complete bend sequence should be listed on a press brake setup sheet and drawings or diagrams can be included to indicate tooling location, forming order, etc. These sheets make repeat orders nearly foolproof as different operators can use the same tooling and follow the same steps to achieve identical results.
Practice Makes Perfect
The more bends an operator makes in different material with different tooling, the better able they are to having a sense for how to best make the bends needed for specific types of jobs. Through skill born of experience, careful documentation and painstaking checking, ideal press brake bends can become the standard at any shop.
